> ## Documentation Index
> Fetch the complete documentation index at: https://lovable.generaltranslation.app/llms.txt
> Use this file to discover all available pages before exploring further.
# Resend integration
> Learn how to integrate Resend with your Lovable application
## What is Resend?
[Resend](https://resend.com/emails) is an email API built for developers. It focuses on high deliverability, ease of integration, and a clean developer experience for sending transactional and marketing emails.
## Step-by-step tutorial
This tutorial walks you through building a fully functional CRM in under an hour—complete with lead collection, email confirmation, newsletter subscription, and an internal admin dashboard. You'll use:
* **Lovable**: to generate the front end and backend logic.
* **Supabase**: for secure data storage and authentication.
* **Resend**: to automate and track transactional + marketing emails.
Let’s get started.
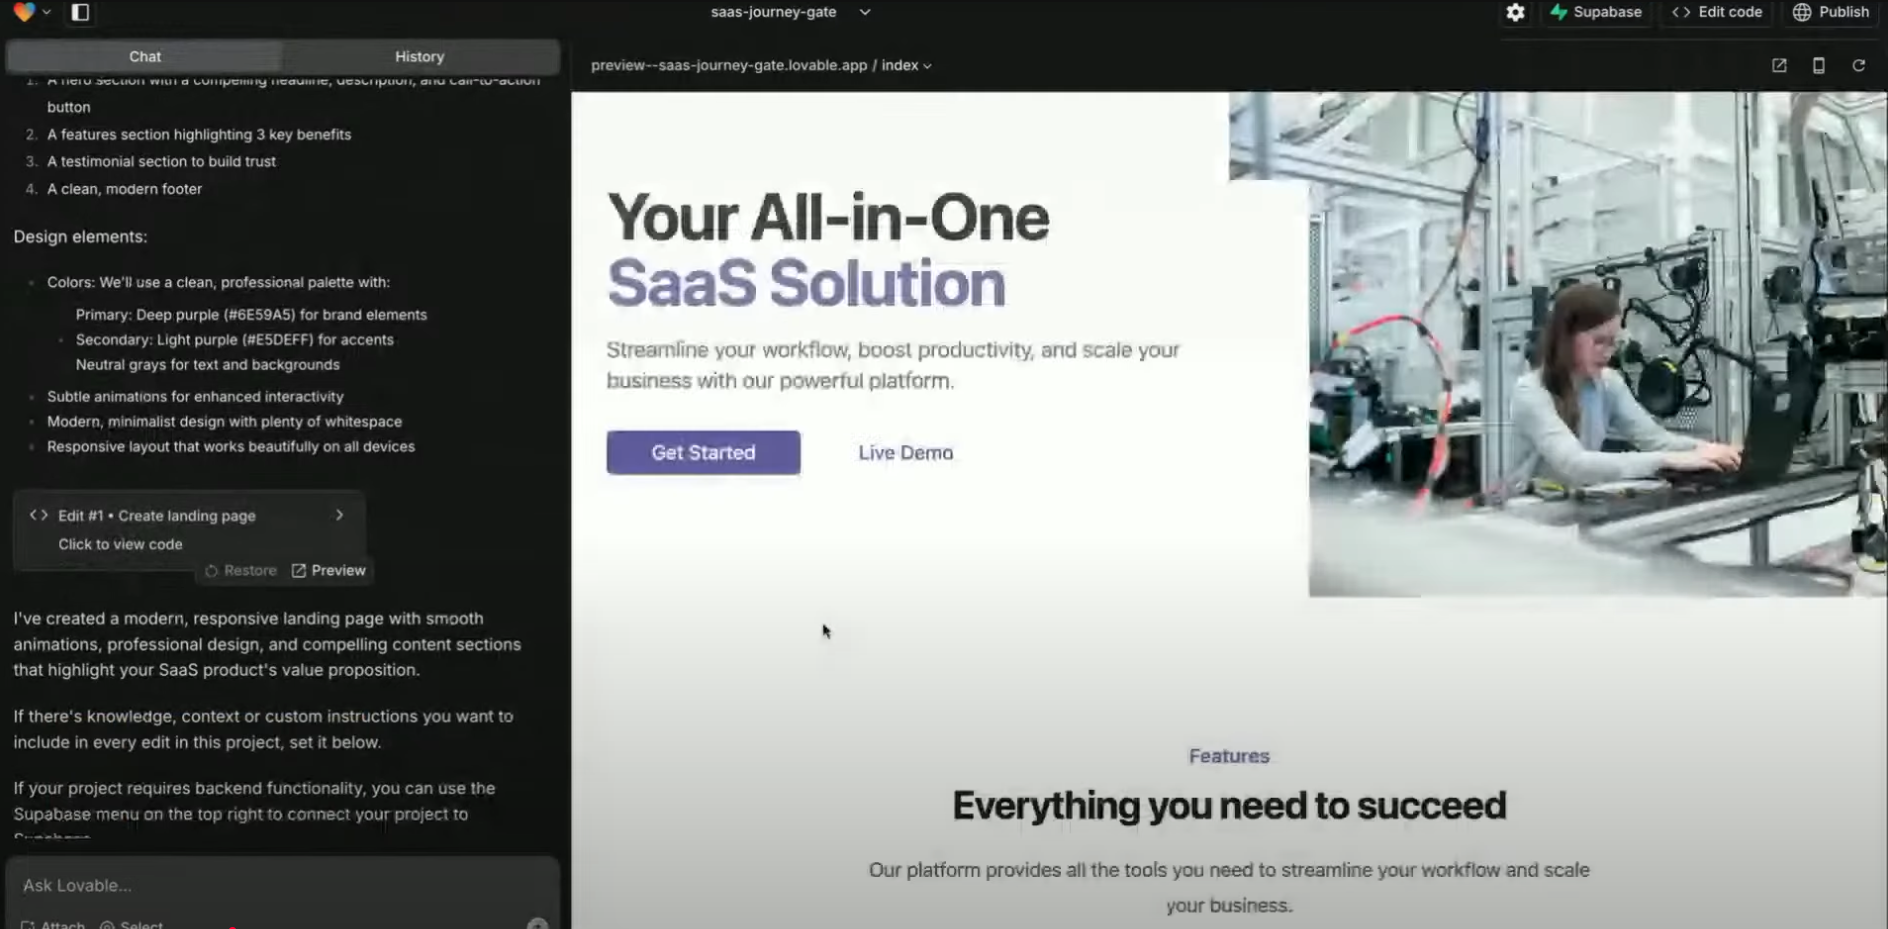
Use Lovable's AI to quickly generate a landing page for your product or service.
**Instructions:**
Create a new Lovable project.
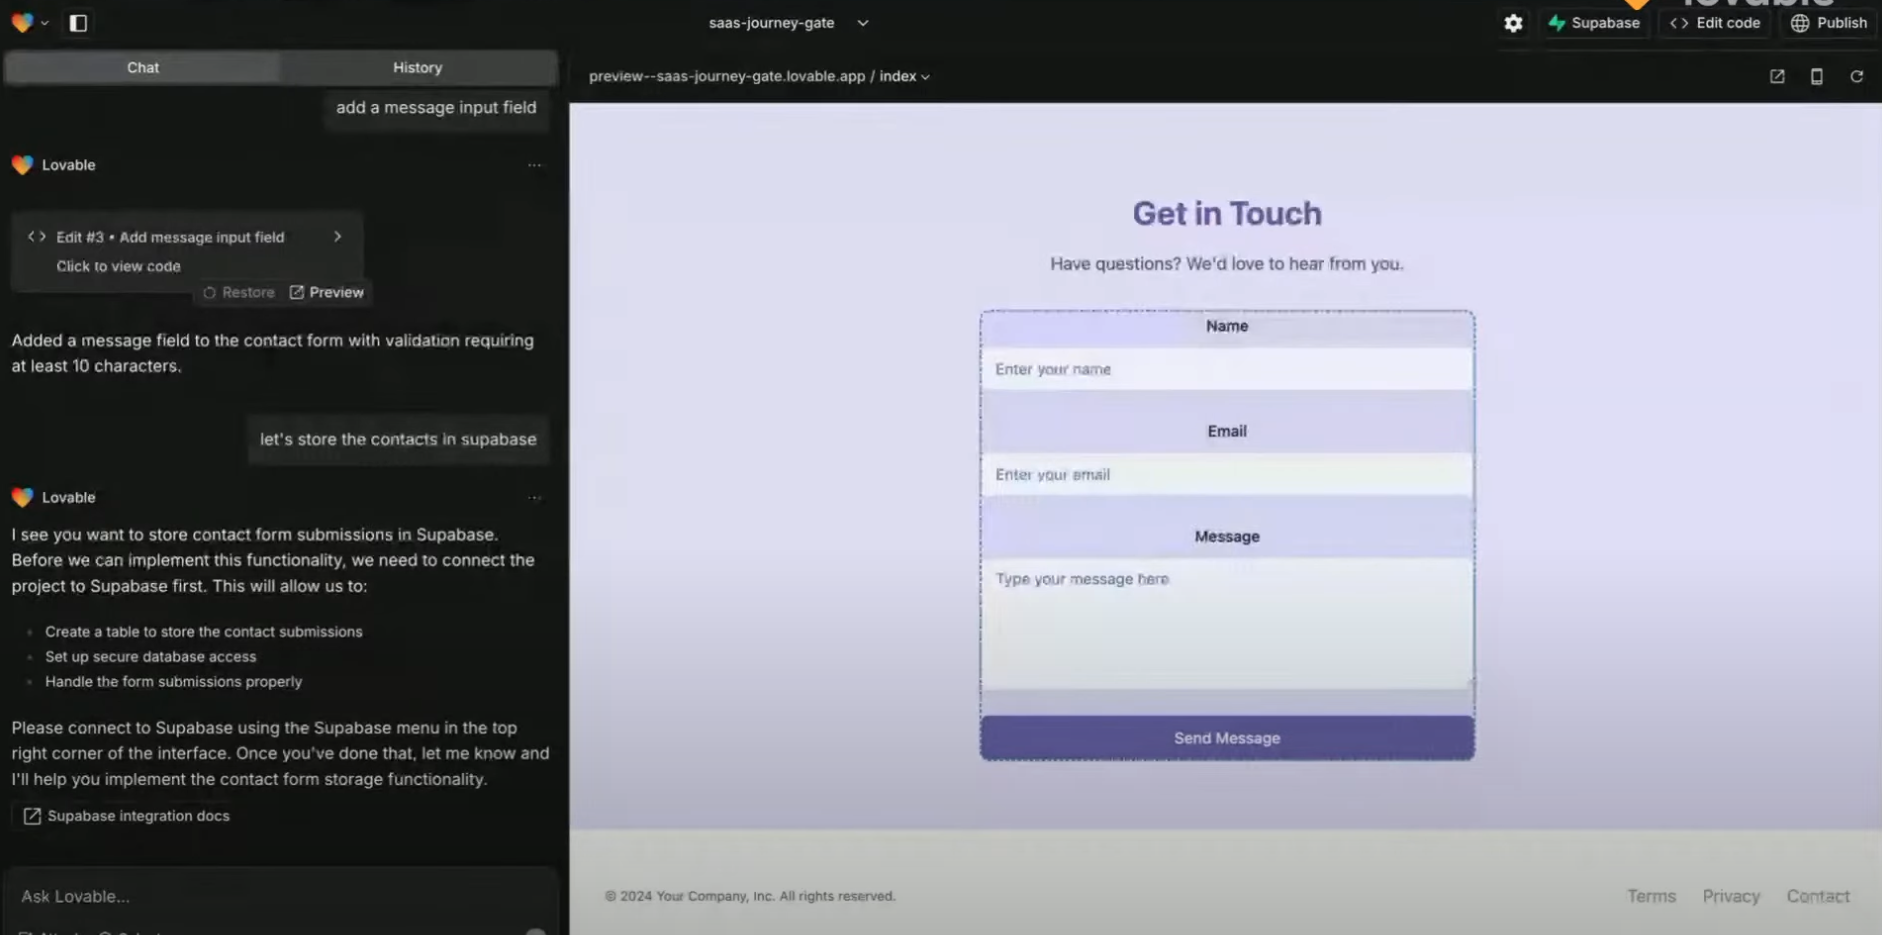
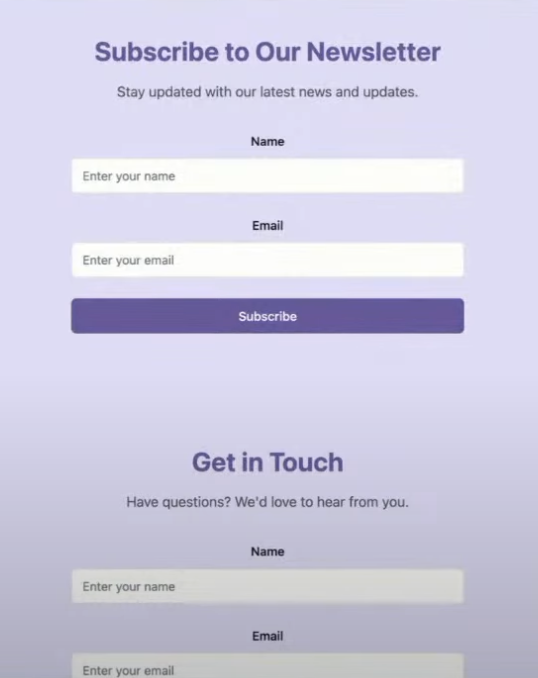
Create a SaaS landing page with a contact form collecting name, email, and message.
Inspect the generated code or use the select tool to tweak elements.
Add input validation and a `message` field for better user experience.
Supabase acts as your secure backend database.
Create a free Supabase account and a new project.
In Lovable, connect your Supabase project using the API key.
* `id`: UUID, primary key
* `name`: text
* `email`: text
* `message`: text
* `created_at`: timestamp
Modify the form submission logic to insert data into Supabase.
Apply Supabase Row-Level Security (RLS) to restrict access to only authenticated users.
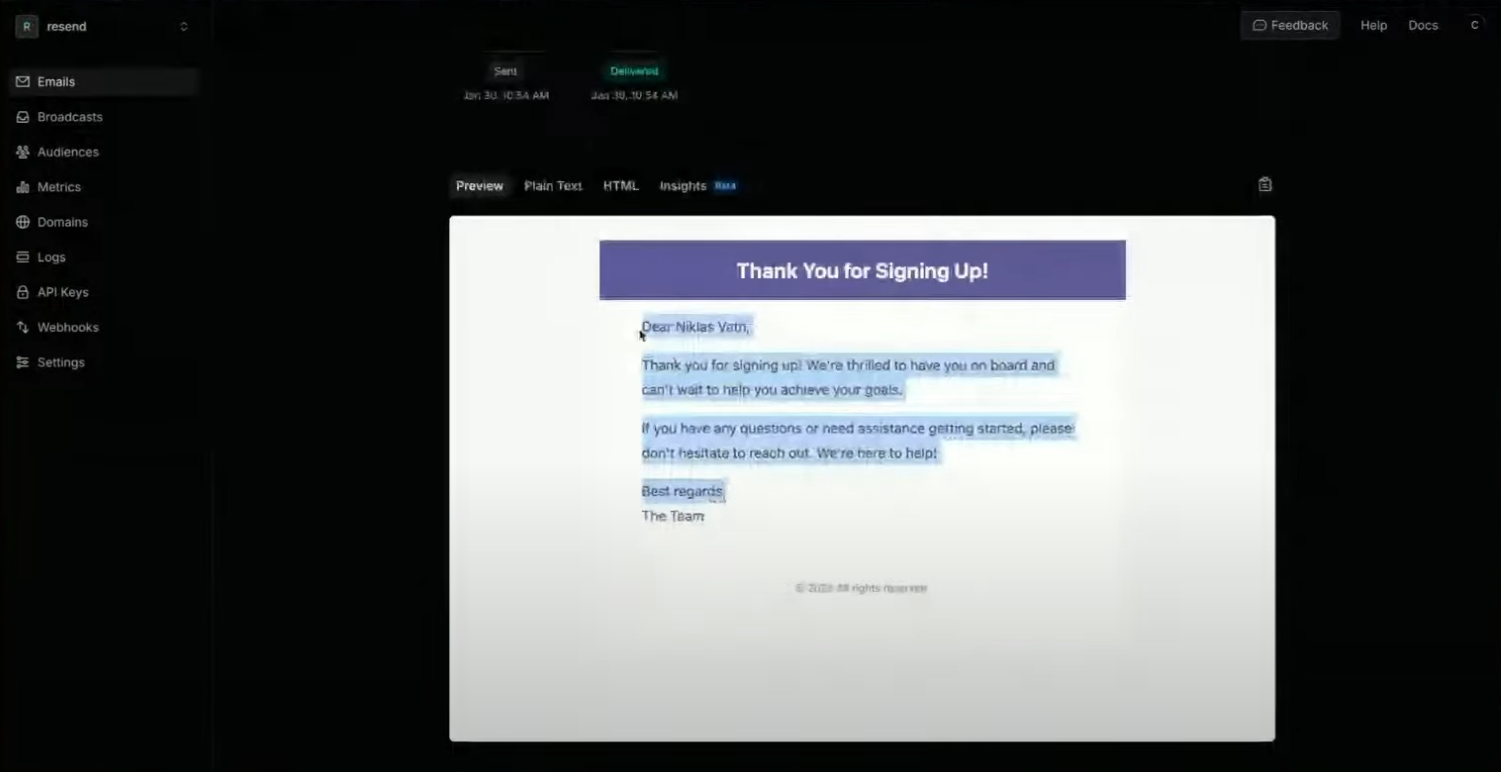
Set up [Resend]() to send automated confirmation emails every time a lead submits the form.
Sign up at [Resend](https://resend.com) and verify your custom domain.
* You’ll be asked to update your DNS records (TXT, MX).
* Use subdomains like `updates.domain.com` to manage email reputation better.
Integrate the API key in Lovable via environment settings or backend function.
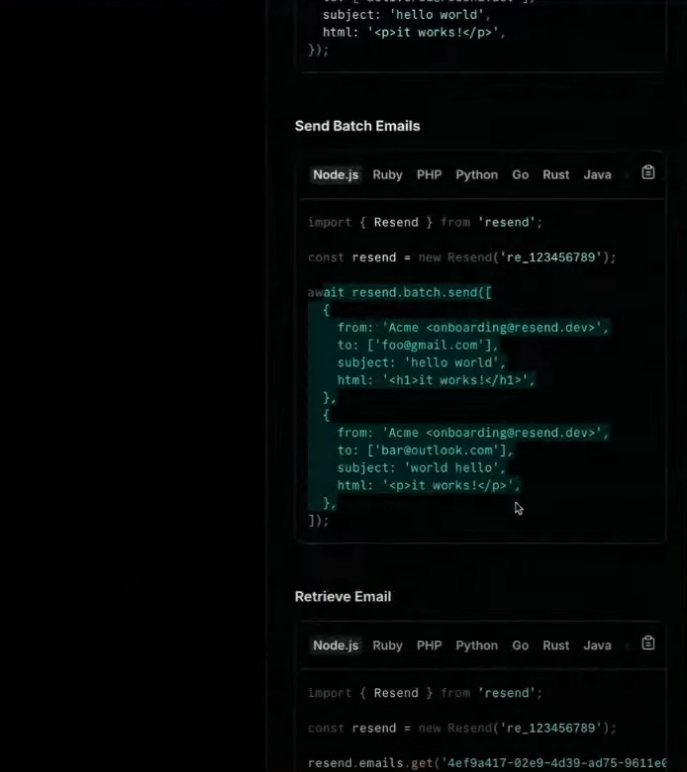
Use Resend’s SDK to send a confirmation email on form submission.
Use [React Email](https://react.email) (also by Resend) to customize the look and feel of your emails with reusable components.
Allow only authenticated users to view and manage leads.
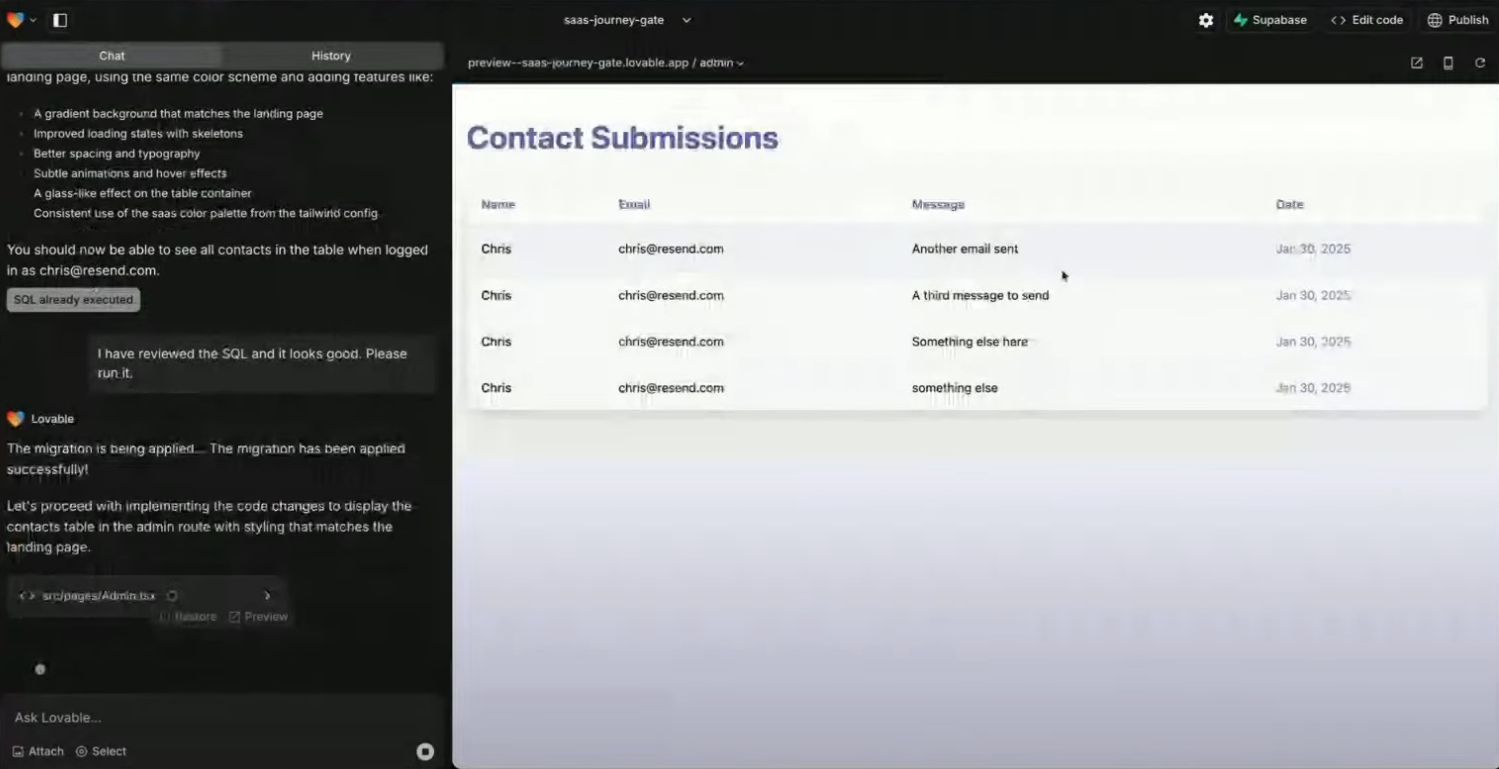
Create an `/admin` route in Lovable.
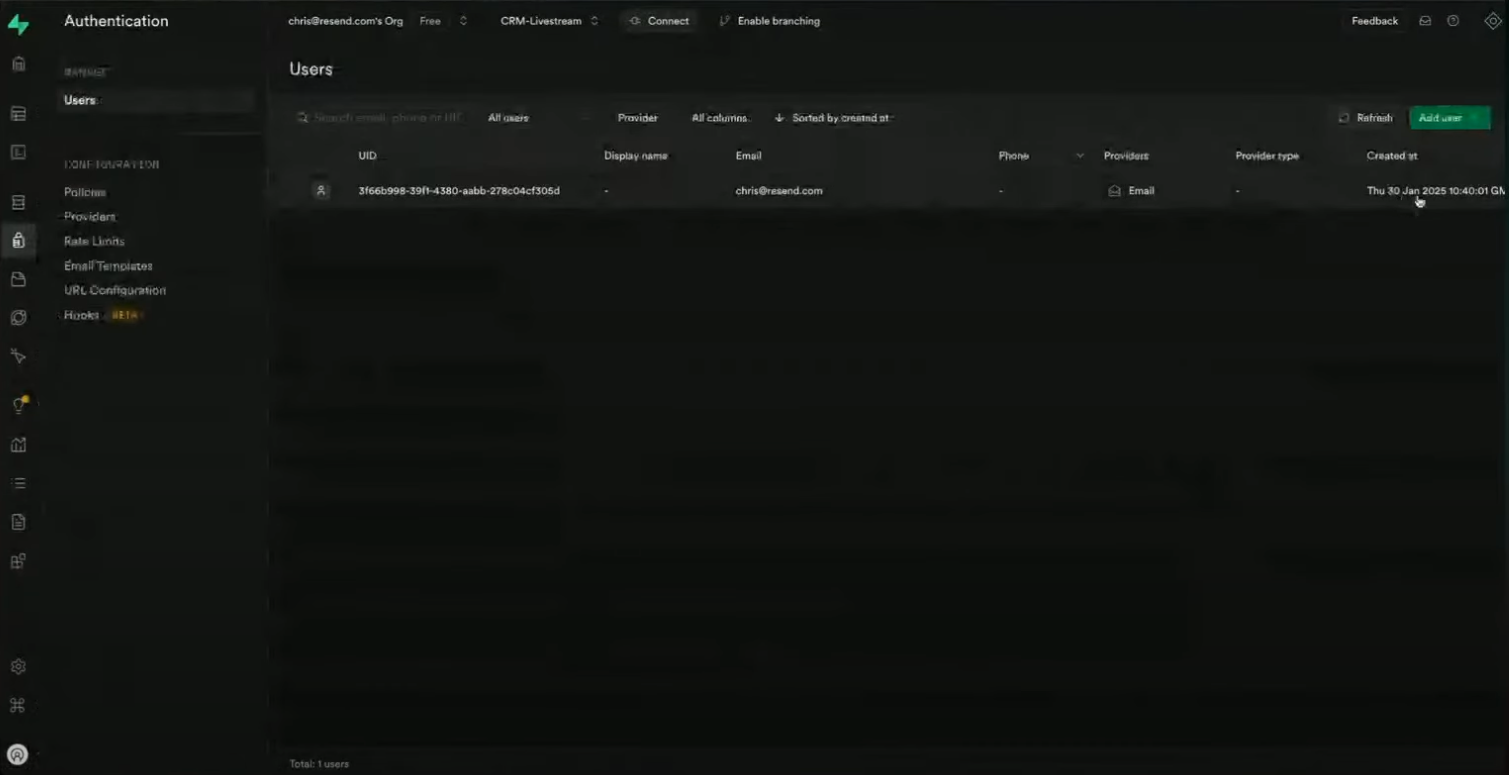
Enable Supabase authentication with email/password login.
Display the `contacts` table with columns:
* Name
* Email
* Message preview
* Submission date
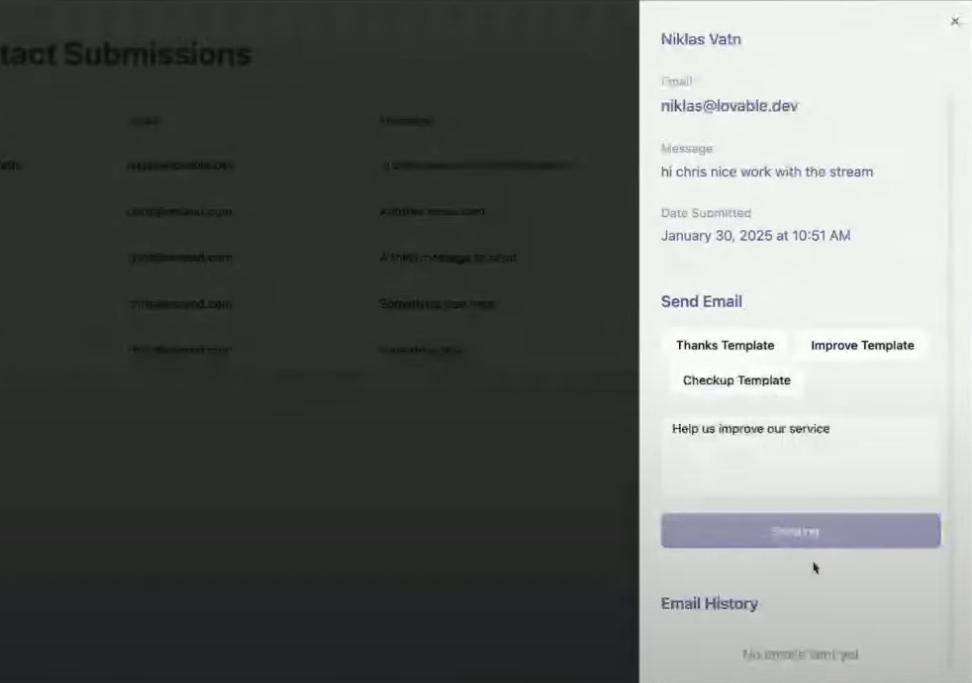
Add a detail pane (e.g., a sliding panel) showing full contact details when a row is clicked.
Add redirect logic so unauthenticated users are routed to `/login`.
Allow your team to send personalized follow-ups.
In the contact detail pane, add a **text field** and **predefined templates** (e.g., "Thanks for signing up!").
Add a **send button** wired to Resend.
Store each sent message in a `sent_emails` table in Supabase:
* `contact_id`
* `subject`
* `body`
* `sent_at`
This gives you a searchable log of all follow-ups.
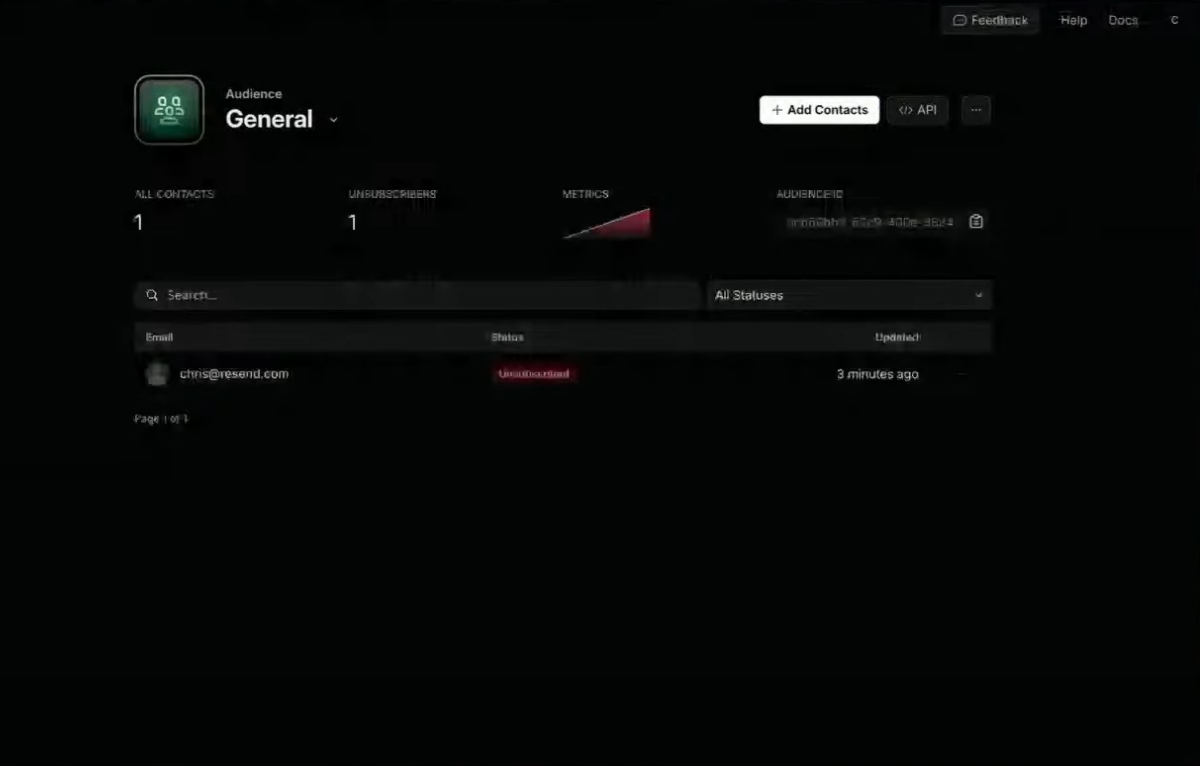
Use Resend’s **Audiences** to manage subscribers and send broadcast emails.
Add a new form on your landing page for newsletter signup.
When submitted:
* Create a Resend contact via the API
* (Optional) Store the contact locally in Supabase as well
Use Resend’s broadcast email UI to design and send newsletters.
* Built-in unsubscribe logic
* Performance insights (open rates, delivery status)
For compliance (e.g. GDPR), consider implementing a **double opt-in** flow.
Want to improve Supabase's default email auth (which limits you to 4 emails/hour)?
Go to [Resend’s Supabase integration](https://resend.com/integrations/supabase).
Authenticate with your Supabase project.
Choose your domain and sender name/email.
Resend automatically sets up SMTP and replaces Supabase’s default email system.
You can now customize auth email templates from the Supabase dashboard.
* **Error Handling**: Lovable might show build errors that are false positives. Always test your functionality live.
* **Reverting with Supabase**: If reverting code in Lovable, remember to manually delete associated Supabase policies or migrations—they're not rolled back automatically.
* **Deliverability Tips**:
* Use subdomains to isolate reputation.
* Always include a plain text version of your email.
* Monitor email performance with Resend's insights dashboard.
In less than an hour, you’ve built a modern CRM with:
* A landing page and contact form
* Database-powered lead storage
* Automated email confirmations
* Admin dashboard for lead management
* Custom email replies
* Newsletter broadcasts
* Auth and email verification
## Want to go further?
* Add support for **scheduled emails** via Supabase cron jobs
* Build **automation flows** to trigger emails based on lead stages
* Style your UI for better brand trust and conversion
## Resend integration FAQ
Resend is an email API built for developers. It focuses on high deliverability, ease of integration, and a clean developer experience for sending transactional and marketing emails.
No. You can complete the entire CRM setup using **Resend’s free tier**, which supports sending emails from a verified domain and up to 3,000 contacts for marketing emails.
Go to Resend → **Domains** → Add your domain. You’ll be given DNS records (TXT, MX) to add via your DNS provider (e.g., Cloudflare, Namecheap). Once added, click **Verify**.
Use a subdomain like `updates.yourdomain.com` to isolate your email reputation.
There are a few common reasons:
* You haven’t verified your domain
* Your email lacks a plain-text version
* You’re sending from a generic sender like `onboarding@resend.dev`
* You’re not following best practices (e.g., missing unsubscribe links in marketing emails)
Use Resend’s **Deliverability Insights** panel to get actionable tips.
Yes. Use [React Email](https://react.email/)—an open-source library by the Resend team—to design styled, responsive emails with React components.
Resend supports **both**:
* **Transactional emails** (confirmation, reset, notifications) using the API or SDK.
* **Marketing emails** via the **Broadcast** feature and **Audiences**.
You can create, preview, and track campaigns from the dashboard.
Use **Audiences**:
* Add contacts manually, via CSV, or programmatically using the API.
* Each Audience has a unique ID you can use to associate subscriptions.
* Users can unsubscribe automatically via Resend’s built-in unsubscribe link.
Not by default, but you can implement it manually:
1. On form submission, send an initial confirmation email.
2. Ask users to click a link.
3. On click, confirm their subscription and add them to your Resend audience.
Not yet. Resend doesn’t currently support drip campaigns or automated sequences.
Workaround:
Use **Supabase Cron Jobs** to schedule tasks that trigger Resend emails at set intervals.
Use the official Supabase Integration by Resend:
1. Authenticate with your Supabase project.
2. Provide a domain and sender name.
3. Resend automatically configures your Supabase auth emails to use your Resend account.
Resend automatically processes unsubscribes:
* You must include an unsubscribe link in broadcast emails.
* When a user unsubscribes, they are removed from the selected audience.
* This is required for email compliance (e.g., CAN-SPAM, GDPR).
 Want to improve Supabase's default email auth (which limits you to 4 emails/hour)?
 * **Error Handling**: Lovable might show build errors that are false positives. Always test your functionality live.
* **Reverting with Supabase**: If reverting code in Lovable, remember to manually delete associated Supabase policies or migrations—they're not rolled back automatically.
* **Deliverability Tips**:
* Use subdomains to isolate reputation.
* Always include a plain text version of your email.
* Monitor email performance with Resend's insights dashboard.
* **Error Handling**: Lovable might show build errors that are false positives. Always test your functionality live.
* **Reverting with Supabase**: If reverting code in Lovable, remember to manually delete associated Supabase policies or migrations—they're not rolled back automatically.
* **Deliverability Tips**:
* Use subdomains to isolate reputation.
* Always include a plain text version of your email.
* Monitor email performance with Resend's insights dashboard.